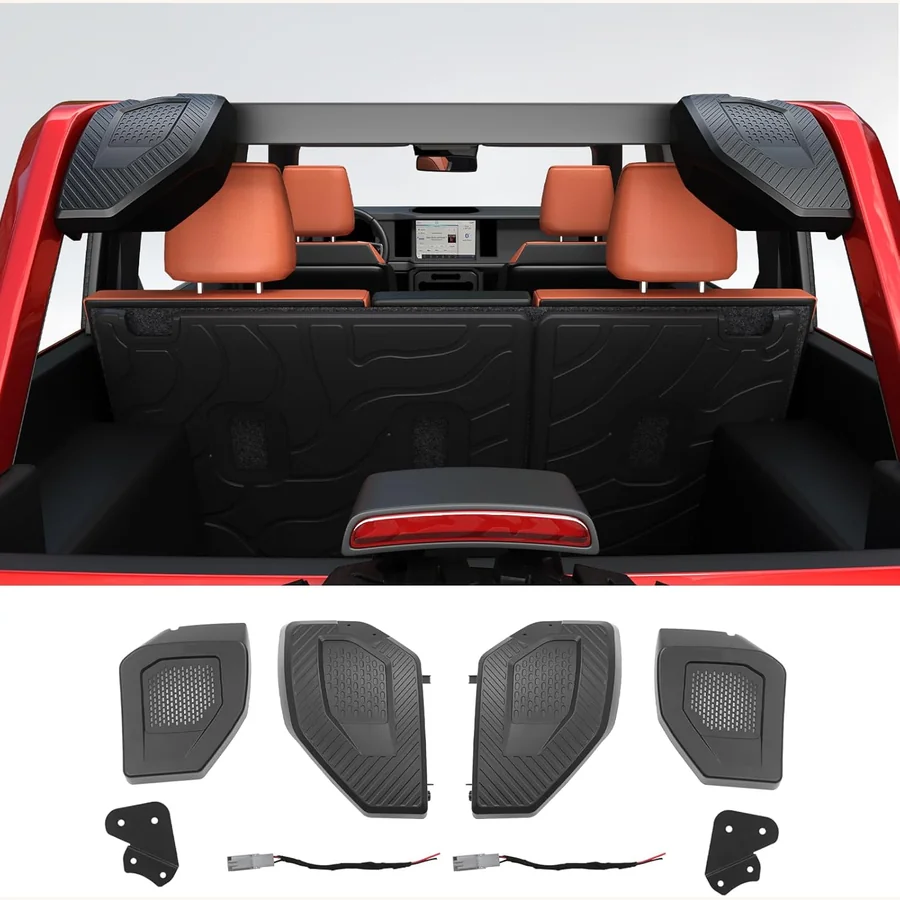
6.5" Speaker Pods
ABS pods replace factory four-inch rears so you can mount fuller 6.5-inch speakers.
Check Price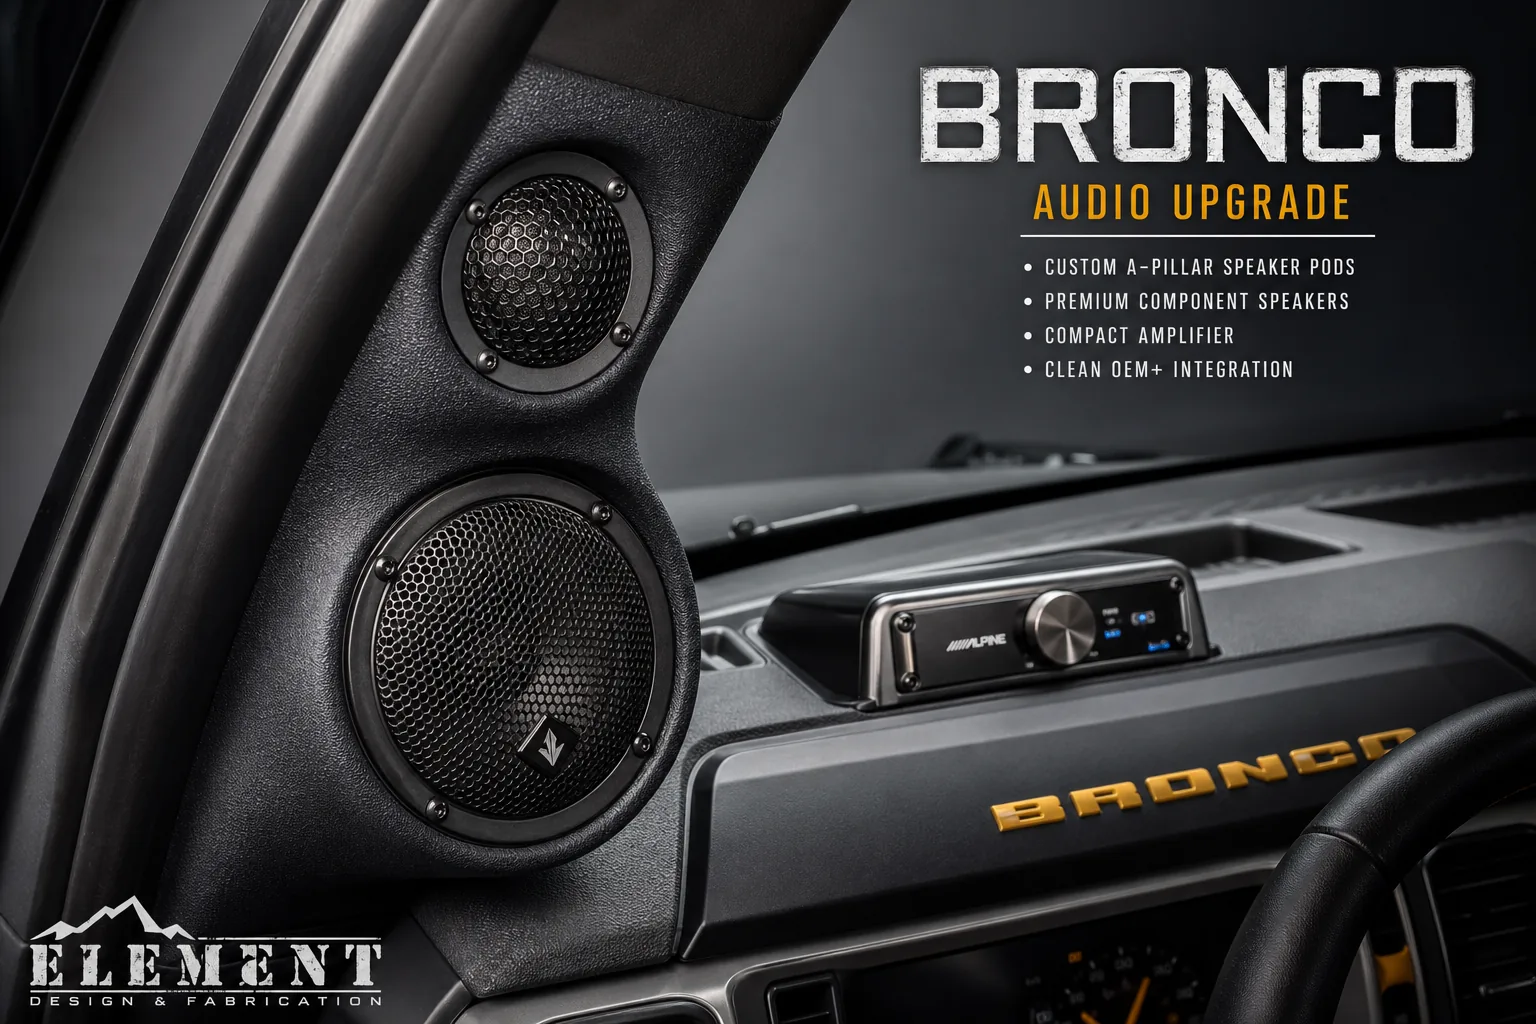
Audio upgrades
Pods shaped for Bronco and Maverick trim geometry.
See prices & availabilityReal Mabett listings with vehicle-specific fit — tap Check Price for current pricing.
ABS pods replace factory four-inch rears so you can mount fuller 6.5-inch speakers.
Check Price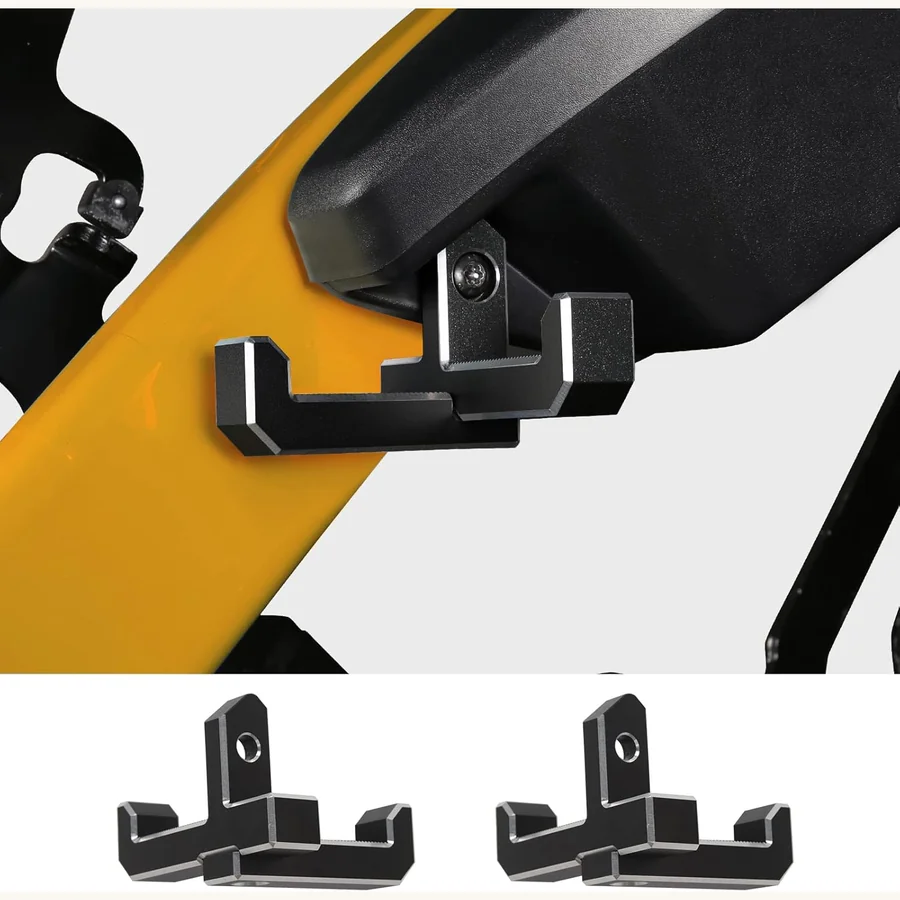
T and J-shaped aluminum hooks mount in the cargo area to hang bags and secure light gear.
Check Price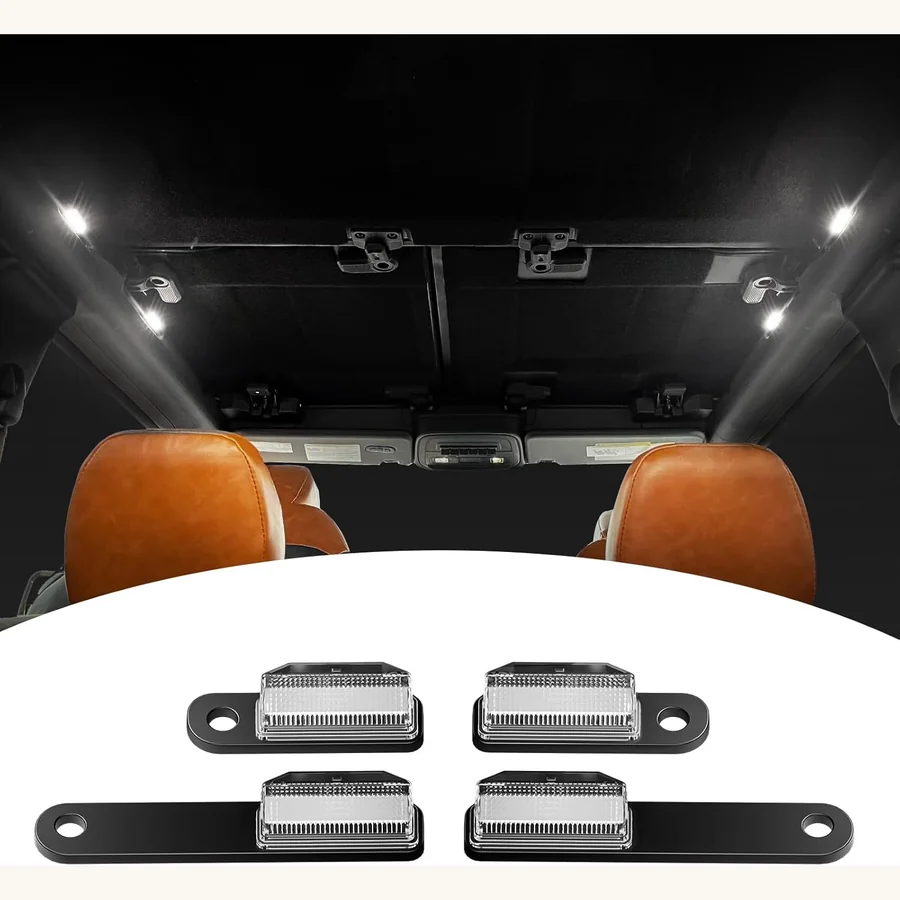
Four upgraded LED domes swap in quickly and brighten the Bronco cabin on hardtop or soft top.
Check Price
Full four-door set with armrest cover wraps factory seats in water-resistant PU leather.
Check PriceFactory Bronco and Maverick audio is adequate for radio, but owners who add amps and component sets need mounting points that look intentional. Universal boxes bolted to flat panels flex and buzz. Mabett pods follow pillar curvature and dash angles so grilles sit flush.
Pods also keep speakers clear of airbag deployment zones when installed per instructions. That is non-negotiable safety territory — follow the template placement map included with each kit.
A-pillar pods image well and aim tweeters at the listener. Dash pods suit midrange drivers close to the windshield. Overhead pods help rear passengers in four-door Broncos. Pick locations before buying speakers so depth and magnet clearance match.
Maverick cabs have less pillar height — use Maverick-specific pods rather than trimming Bronco molds. Sub pods slide under seats when box volume is calculated for the driver you choose.
Pods are molded in textured black to match OEM plastic. Sand and prime if you plan custom color — ABS accepts automotive adhesion promoters. Avoid glossy paint without flex additive; it chips when pillars flex slightly during door slam.
Gasket foam behind the pod rim stops dust intrusion at the trim seam. Replace foam if you remove pods for vehicle sale — compressed foam does not rebound well.
Run speaker wire with factory harnesses, not across footwells unprotected. Leave service loops behind pods so you can pull speakers without desoldering at the amp. Label left/right at both ends. It saves hours during tuning.
If you add amplification, fuse each run near the power source. Door and pillar wires see flex — use stranded copper of appropriate gauge, not solid core.
Remove trim once, install pods, wire, test, then reassemble. Cycling trim clips weakens them. Photograph clip locations before removal if this is your first Bronco interior job.
Torque screwdrivers beat impact drivers on interior fasteners. Strip a screw in a pillar and you will remember it for years.
After physical install, set high-pass filters on mids and tweeters to protect small drivers on bass-heavy tracks. Time-alignment apps help when pods are at different distances to the listener.
Start with factory EQ flat, then adjust. Over-boosted bass masks rattles you should fix mechanically first.
Pods improve fit and safety — they do not replace proper speaker selection. Match sensitivity and RMS ratings to your amp. Read Mabett owner reviews for buzz-free installs on similar model years.
For full system builds, pair pods with interior lighting routed on the same side to keep the dash serviceable.
Aftermarket head units with high pre-out voltage can overdrive sensitive tweeters. Use inline attenuation if you hear harshness before EQ. Gain staging at the amp beats EQ fixes after clipping.
Retain factory steering controls with appropriate interfaces — pods do not change that requirement but full dash jobs often coincide with head unit swaps.
Document pod locations and fastener types before selling. Buyers appreciate reversible installs. Keep factory trim clips in labeled bags — they are cheap but hard to source quickly.
Fill screw holes only if you must; future owners may want the same pods. Use trim-safe fasteners from the original kit when possible.
Forum builds often combine pods with sound deadening on the same trim pull. Order deadening sheets before pod install so you only remove panels once. Batch interior work saves clips and patience.
Photograph wire routing before closing trim — your future self will thank you when adding a dash cam on the same harness path.
Speaker depth behind pods must clear window mechanisms on doors and curtain airbag paths on pillars. Publish depth numbers in your build thread if you deviate from template — it helps the next installer.
Sub pods under seats need seat motor clearance on powered layouts. Manual seat Mavericks offer more volume but still require strap clearance for floor mats above.